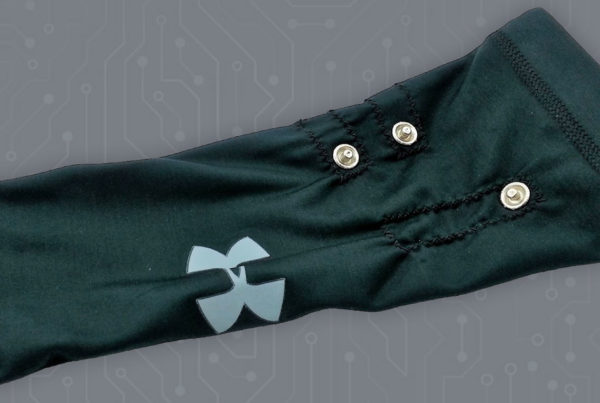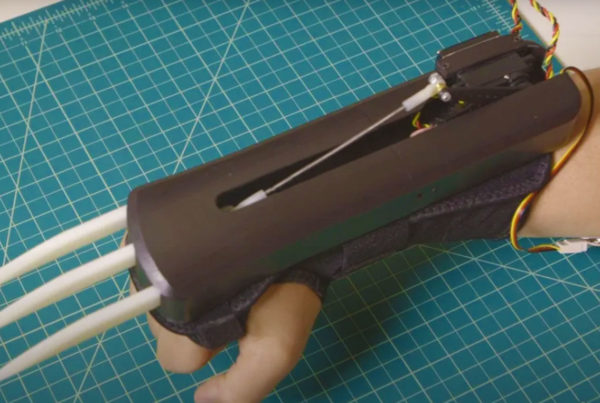

Bionic Iron Man Repulsor
Flex your muscle and hear the repulsor charge up, relax to fire
Any sufficiently advanced muscle sensor is indistinguishable from myoelectric magic
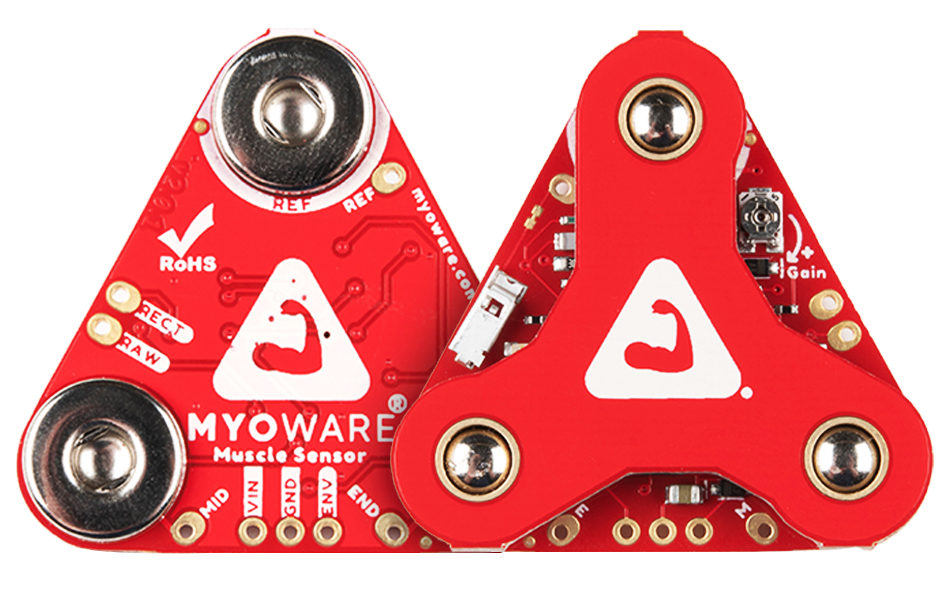
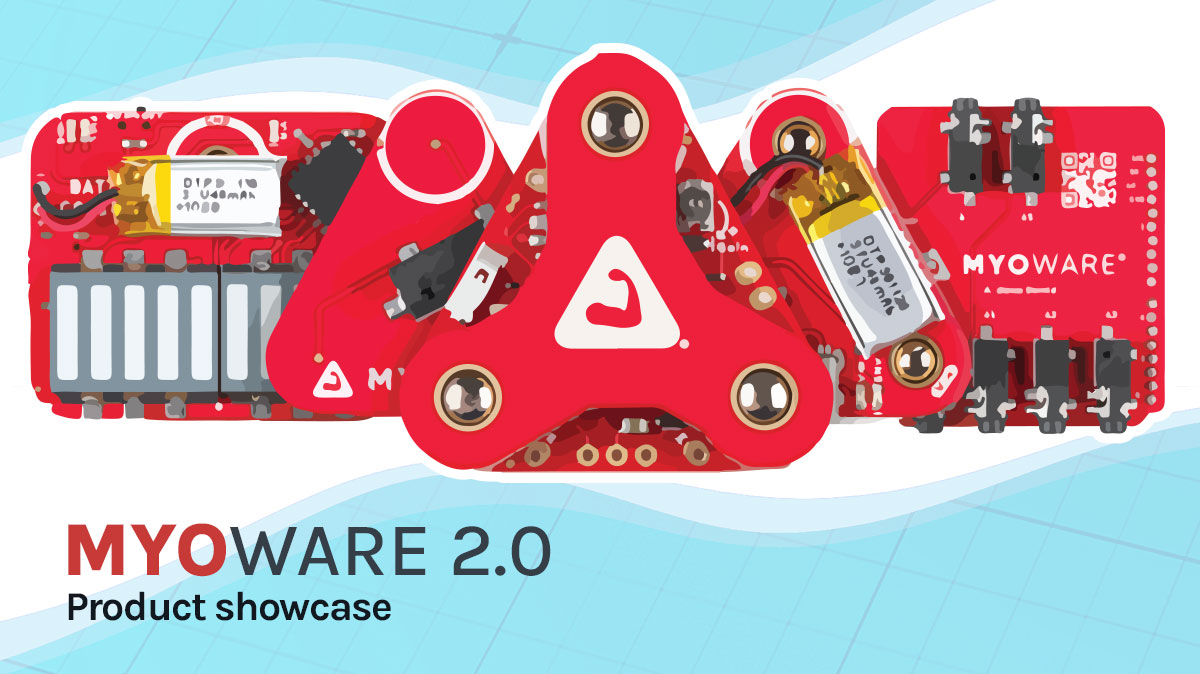
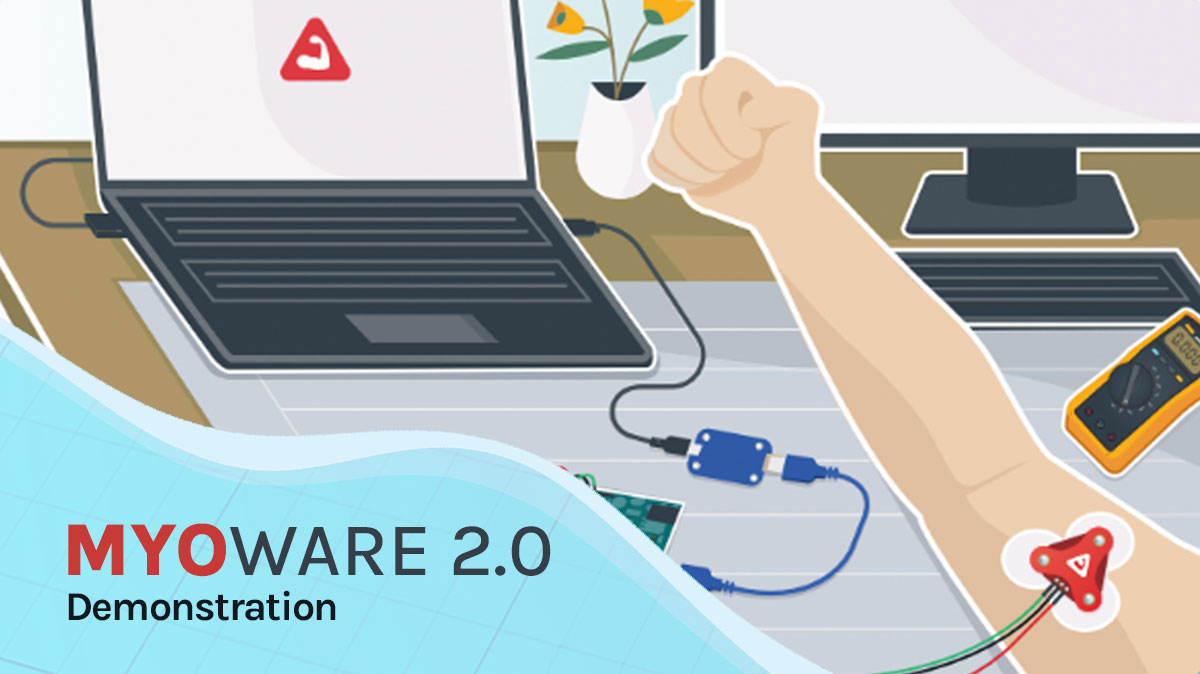
From robots to video games, learn to control an endless possibility of devices with the MYOWARE 2.0 Ecosystem.
Setup is a snap with MYOWARE 2.0 and its innovative snap connector system eliminating any need for soldering.

© 2024 MYOWARE by Advancer Technologies. All Rights reserved. | Patent Information

© 2022 MYOWARE
by Advancer Technologies.
All Rights reserved.
Patent Informtion